Chateau-President-Symphony-Designer
installation
Builder installation
Installation and cleaning Instructions Builder Series Mantel
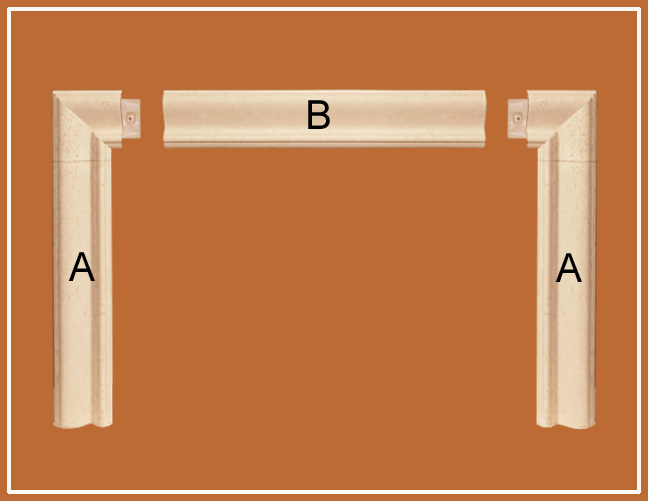
Historic Mantels Parts

A 2 side legs
B 1 top header
Determine and mark the position of the leg height required. Cut the bottom of the leg to the require height. We recommend using a small angle grinder with concrete blade. Mark sure the legs are level. Use shims to level the mantel legs if required.
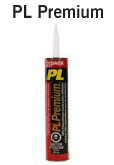
Drill a hole at the top of the mantel leg as marked with a concrete bit. Hole may already be drilled. Apply construction adhesive (we recommend PL Premium) to the back of the mantel legs. Screw the legs into the wall.


Determine and mark the position of the mantel header as required. Cut the header to the require length so it fits exactly between the two mantel legs.
Apply adhesive to the back surface of the mantel header and inside top of leg. Use bracing to secure the mantel header tight to the wall until the adhesive sets.
Fill any gaps around the mantel with the cement provided.? NOTE the cement provided dries in less then 20 minutes. Add water and apply promptly.
*mix only a small amount of cement as needed as it dries in 20 min
Historic Mantels are factory treated with a clear water-based sealer and do not require additional surface treatment

Clean mantel with a damp cloth as needed. Do Not wet the mantel. Water marks may appear if the cloth is wet.